-
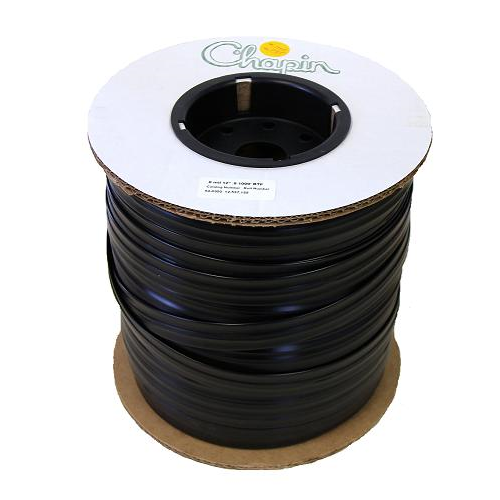
Drip Tubing for Drip Irrigation Kits
Drip Tubing (100' Roll) has built-in emitters spaced every 12" for saturation coverage of desired area. Maximum working pressure of 15 PSI recommended. For use with Perma-Loc Fittings. Designed to ensure an even flow and minimize clogging of built-in emitters. Ideal for use in vegetable gardens and flowerbeds where the rows are straight. If your garden is in between the sizes of our Drip Irrigation Garden Kits, you can add extra drip tubing and perma-loc fittings to customize the irrigation system to your needs. -

Drip Irrigation Figure Eight End Closure
Figure Eight End Closure for hose O.D. (outside diameter) up to .660". This fitting is the most common way to end a 1/2" supply line. Used in our Irri-Gator Landscape-400 Kit. -
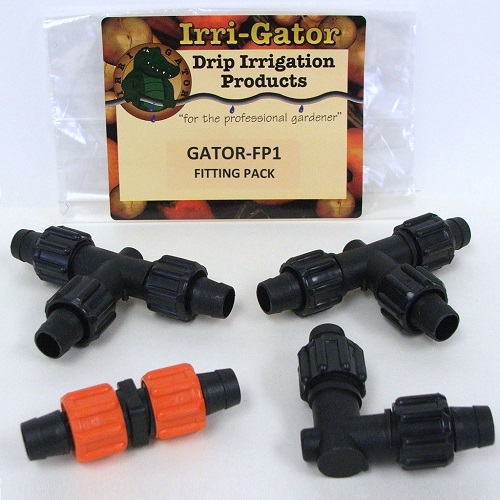
Gator Drip Irrigation Kits
The Gator Fitting Pack consist of 2 Perma-Loc Tees, 1 Perma-Loc Elbow and 1 Perma-Loc Coupling. This pack allows customization of each Irri-Gator Drip Kit. Consists of commercial grade, UV resistant plastic. Requires NO glue or tools for installation. To install tape-loc side, simply turn sleeve counter-clockwise, slip tubing over barb, and turn sleeve clockwise to hand tighten for a secure fit. -

Drip Irrigation Parts and Supplies
3/4" Hose Swivel attaches to a hose bib, faucet, spigot, hydrant, garden hose or hose threaded parts (like filters and pressure regulators) and accepts fittings with 3/4" male hose threads (MHT). -

Drip Irrigation Parts and Supplies
Perma-Loc Coupling to be used to either connect two pieces of Irri-Gator Drip Tubing or to repair an existing line. Consists of commercial grade, UV resistant plastic. Requires NO glue or tools for installation. Gator 100/250/1000 Drip Irrigation Kit Installation Instructions -
Drip Irrigation Parts and Supplies
Elbow fitting to be used with any Irri-Gator Drip Tubing or Distribution Tubing. Elbows allow you to make a sharp turn which the tubing itself is not capable of making. Consists of commercial grade, UV resistant plastic. Requires NO glue or tools for installation. To install, simply turn sleeve counter-clockwise, slip tubing over barb, and turn sleeve clockwise to hand tighten for a secure fit. Gator 100/250/1000 Installation Instructions -
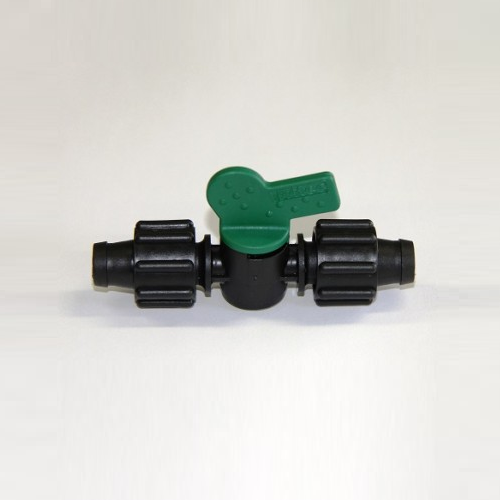
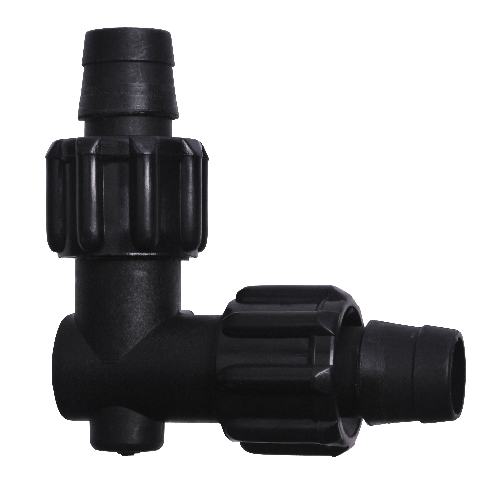
Drip Irrigation Parts and Supplies
In-Line valve for 5/8" ID tubing used to control water flow of individual lines. A valve can be easily installed directly into an individual row or into the mainline to control the water flow of more than one row. Consists of commercial grade, UV resistant plastic. Requires NO glue or tools for installation. The perfect accessory for our drip irrigation garden kits!! -
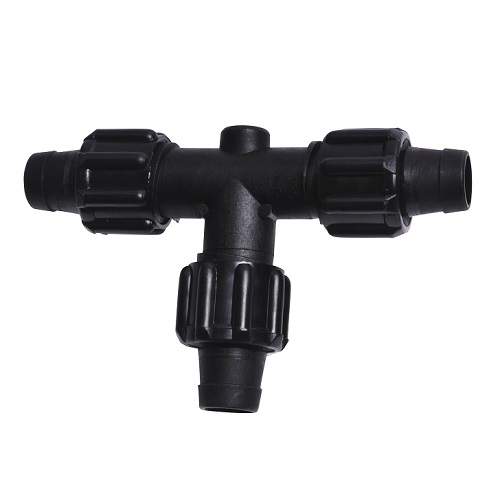
Drip Irrigation Parts and Supplies
Perma-Loc Tee fitting to be used with any Irri-Gator Drip Tubing or Distribution Tubing. A tee can be used to branch off an additional line from the mainline or for an individual row. Consists of commercial grade, UV resistant plastic. Requires NO glue or tools for installation. To install, simply turn sleeve counter-clockwise, slip tubing over barb, and turn sleeve clockwise to hand tighten for a secure fit. -
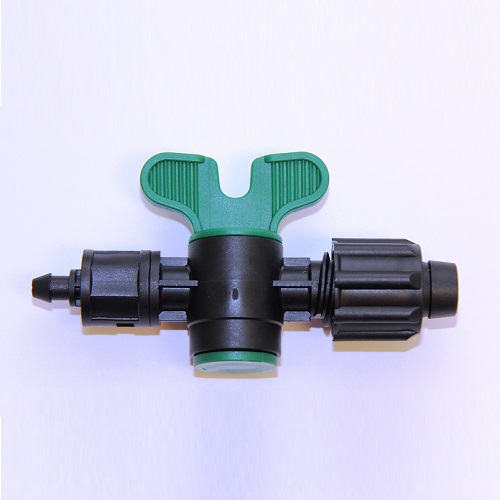
Drip Irrigation Parts and Supplies
Perma-Loc x 250 Barb / Valve for 5/8" ID Tubing, aka In-Line Barbed Valve for 5/8" ID tubing, is used to control water flow. A valve can be easily installed into the rigid poly mainline to control the water flow of an individual row. This barbed valve is the 250 Series. A punch tool is required for installation. Consists of commercial grade, UV resistant plastic. The perfect accessory for our Gator 2000 Drip Irrigation Garden Kit!! -
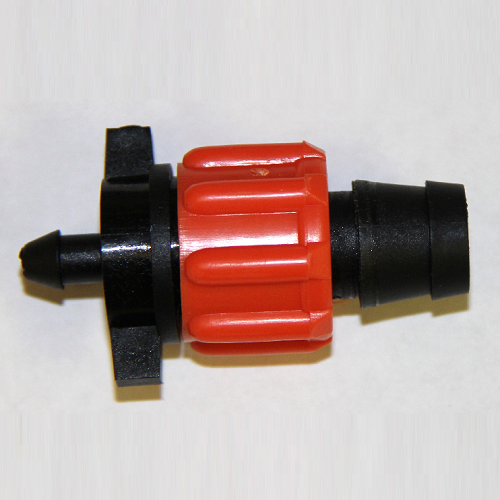
Drip Irrigation Fitting
This Perma-Loc x 250 Barb fitting connects 5/8" drip tubing or 5/8" distribution tubing to rigid poly tubing. Consists of commercial grade, UV resistant plastic. To install, simply turn sleeve counter-clockwise, slip tubing over barb, and turn sleeve clockwise to hand tighten for a secure fit. Use 1/4" punch tool make proper hole to insert barb fitting side into poly tubing. Gator 2000 Install Instructions -
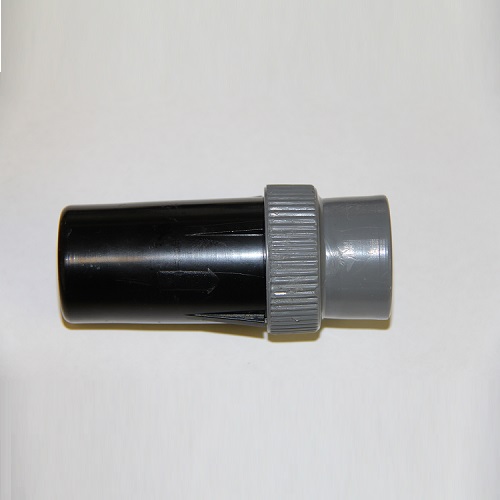
Preset Pressure Regulator for Drip Irrigation Systems
The preset pressure regulator offers exceptional outlet pressure control to provide consistent performance from 1/2 to 12 gallons per minute. Both inlet and outlet are 3/4" FIPT. Included in our Gator 2000 Drip Kit due to extra thick industrial strength side walls. Made in the USA. -
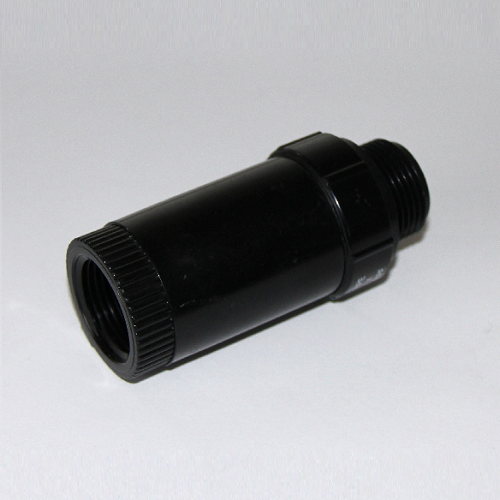
Pressure Regulator for Drip Irrigation
Pressure Regulator 30 PSI is a preset pressure regulator with 3/4" FPT (female pipe thread) x 3/4" MPT (male pipe thread). Made in the USA. -
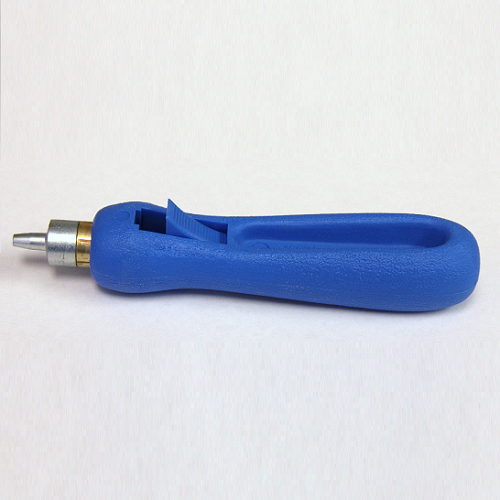
Punch Tool for Drip Irrigation Kits
Ejector Style Hole Punch used for "punching" a hole in rigid poly tubing to insert 1/4" barb fittings. This punch is constructed of heavy duty plastic. It creates clean, precise holes for 1/4" barb fittings. Ejector pin quickly cleans the punch tool of debris. Included in our Gator 2000 Drip Kit as well as our Landscape 400 Drip Kit. -

Drip Irrigation Assembly
Regulator / Screen Assembly connects drip tubing or distribution tubing to any ¾” garden hose thread water source. The pressure regulator has a maximum operating pressure of 15 PSI. Requires NO glue or tools for installation. To install tape-loc side, simply turn sleeve counter-clockwise, slip tubing over barb, and turn sleeve clockwise to hand tighten for a secure fit. -
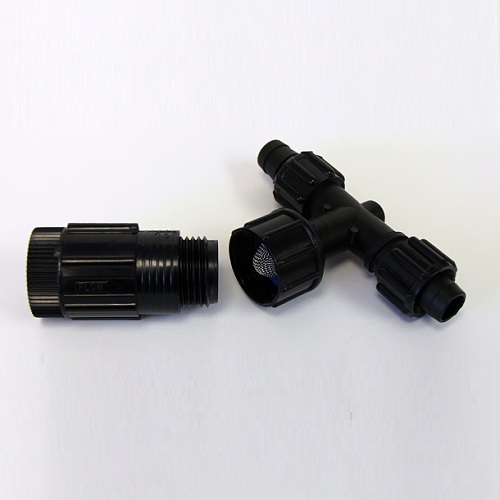
Regulator / Tee Screen Assembly for Drip Irrigation
Regulator / Tee Screen Assembly connects drip tubing or distribution tubing to any ¾” garden hose thread water source. This pressure regulator has a maximum operating pressure of 15 PSI. Requires NO glue or tools for installation. To install tape-loc sides, simply turn sleeve counter-clockwise, slip tubing over barb, and turn sleeve clockwise to hand tighten for a secure fit.